|
Developer Documentation
|
|
Developer Documentation
|
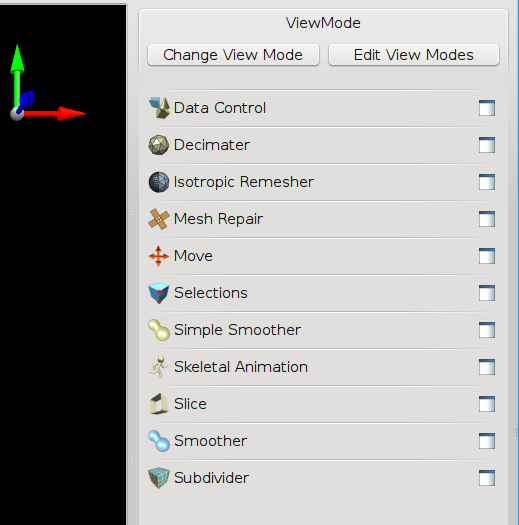
The ToolboxInterface can be used by plugins to add widgets to the list of toolboxes in OpenFlippers UI. The toolboxes are located left or right of the GL viewer (See image).
The list can be hidden by pressing Ctrl + t.
To use the ToolboxInterface:
Usually you should implement the BaseInterface::pluginsInitialized() function from BaseInterface. In this function you can setup your toolbox ( some kind of QWidget, can also be any widget created with QT-designer). Optionally you can also add an icon to the toolbox.
The following code shows a simple example to create an empty toolbox.
Signals and slots of your toolbox (e.g. from a QPushButton inside it) can be directly connected to signals and slots in your plugin. Therefore the embedding of the widget into the toolbox list is fully transparent.
 1.8.11
